
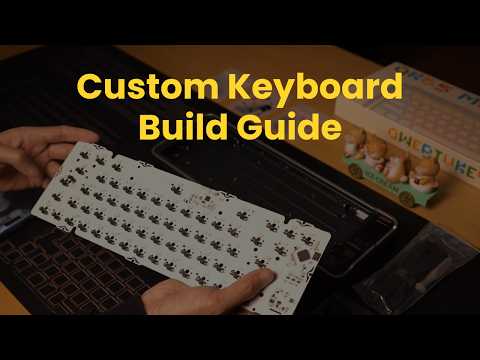
Learn how to build a custom mechanical keyboard from start to finish in 18 minutes. This beginner-friendly guide walks you through every step. This video covers everything from prep, parts, foams, switches, stabilizers to final assembly.
All the parts used in this build are available at LumeKeebs.
👉 Shop here: www.lumekeebs.com
⏱️ Timestamps
00:00 Intro
00:18 Part 1: Intro
00:30 Part 1: PCB
00:55 Part 1: Plate
01:19 Part 1: Switches
01:36 Part 1: Stabilizers
01:50 Part 1: Foams (Case foam, PCB foam, and more)
03:28 Part 1: Gasket mounting
03:49 Part 1: Ribbon cable and other accessories
04:24 Part 2: Testing your PCB
05:33 Part 3: Prep your stabilizers (clip-in vs screw-in)
06:46 Part 4: Prep foams and films
08:54 Part 5: Install stabilizers
10:21 Part 6: Place foam & plate
10:48 Part 7: Install switches
12:50 Part 8: Remove the case
13:15 Part 9: Final assembly
17:48 Part 10: Install keycaps
18:30 Part 11: Final check & sound test
#lumekeebs #mechanicalkeyboard #customkeyboard #keyboardbuild #mechanicalkeyboards #keyboardenthusiast #custommechanicalkeyboard #keyboardtutorial #keyboardbuildguide #mechkeys #keebs #keyboardcommunity #keyboarddiy #switches #keycaps
#howto #engineering

Very nice straightforward guide, buttery smooth asmr at the end nice!
Way better video than Hipyo Tech .
Where do you get the foams for PCB and case?
Really good video. Just some parts of the video are hard to see because of the focus
Between part 6-7 you completely skipped attaching the plate to the pcb.